How to Build a Shed: A Step-by-Step Guide for First-Time Builders
Quick answer
To build a shed, confirm permit, setback and HOA rules first, then build a level foundation, frame the floor and walls with 16-inch stud spacing, frame and cover the roof, and finish with doors, trim and paint. Many US jurisdictions exempt sheds of 200 square feet or less from a building permit, but zoning and electrical rules still apply, and costs vary by region.
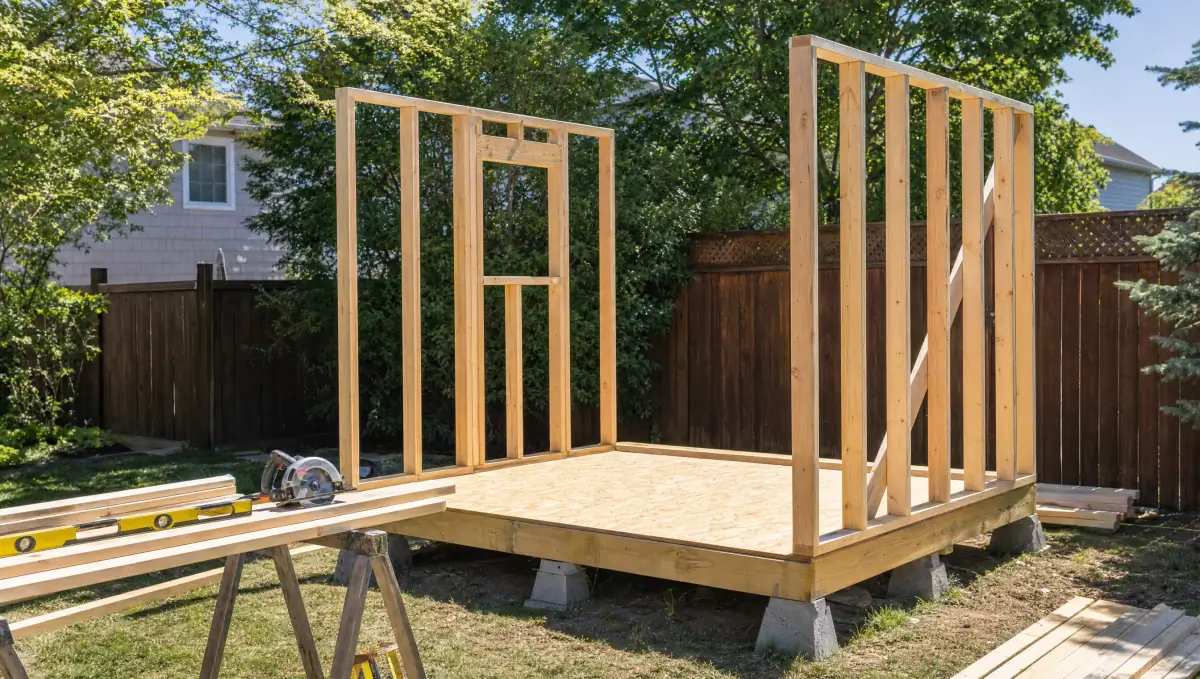
Before you buy lumber: the short version
Building a backyard shed is one of the most common first "real" construction projects, and it is very doable for a patient beginner. The work breaks into six stages: check the rules, pick a site and size, build a foundation, frame the floor and walls, frame and cover the roof, then add doors, trim and paint. Most of the mistakes people describe online happen in the first two stages, not with a saw in hand. A shed that sits on the wrong spot, violates a setback, or rests on a poor base will cause problems no matter how neat the framing is.
This guide walks through each stage in order. It is general information, not engineering advice. Local codes, soil, snow load and wind exposure all change what is required where you live, so treat the numbers below as starting points to verify with your building department.
Step 1: Permits, zoning and HOA rules
Many US jurisdictions base their rules on the International Residential Code (IRC), which in recent editions exempts a one-story detached storage shed of 200 square feet of floor area or less from needing a building permit. That sounds simple, but there are several catches:
- Local amendments. Cities and counties adopt the IRC with changes. Some keep a lower threshold (older codes used 120 square feet), and some require a zoning permit even when no building permit is needed.
- Setbacks still apply. A permit exemption does not exempt you from zoning. Many towns require sheds to sit a minimum distance from property lines, often around 5 feet, and some have rules about distance from the house or placement in front yards.
- Electricity or plumbing changes things. Running power to a shed usually triggers an electrical permit regardless of size.
- Height limits and easements. Many zoning codes cap accessory building height, and you generally cannot build over a utility easement.
- HOA covenants. If you have a homeowners association, its rules on size, color, roofing material and location can be stricter than the city's. Get approval in writing before you start.
A quick phone call or visit to your local building department, plus a call to 811 before you dig footings, saves a lot of trouble. 811 is the free national "call before you dig" number that arranges for underground utilities to be marked.
Step 2: Choose the size and site
Common DIY sizes are 8x10, 10x12 and 12x16 feet. A useful rule many builders repeat: go one size larger than you think you need, because sheds fill up fast. Just keep the permit threshold in mind if you want to stay under it. A 10x20 shed, for example, sits right at 200 square feet.
For the site, look for:
- Level or nearly level ground that drains well and does not collect standing water after rain.
- Room to work on all four sides during construction, and enough clearance to open doors fully.
- Distance from trees that drop limbs or keep the roof constantly damp.
- A path for wheelbarrows, mowers or anything else you plan to roll in.
Step 3: Pick a foundation
The foundation is what keeps the floor from rotting and the walls square over time. There are four common options for backyard sheds:
| Foundation type | Best for | Difficulty | Notes |
|---|---|---|---|
| Gravel pad with skids | Small to mid-size sheds on fairly level ground | Easy | Compacted gravel drains well; pressure-treated skids rated for ground contact carry the floor. |
| Concrete blocks or deck blocks | Small sheds, sloped sites | Easy | Fast and cheap, but every block must be leveled carefully. Less stable on soft soil. |
| Concrete piers | Larger sheds, frost-prone areas, slopes | Moderate | Piers dug below the local frost line resist heaving. Often required where codes ask for frost protection. |
| Concrete slab | Workshops, heavy equipment, garages | Hard | Most durable and the floor is built in, but it is the most expensive and least forgiving to get wrong. |
Whatever you choose, keep wood off the dirt. Any lumber in contact with the ground or concrete should be pressure-treated and labeled for ground contact, and fasteners touching treated wood should be hot-dip galvanized or stainless steel, since modern treatments can corrode plain steel.
Step 4: Frame the floor
A typical shed floor is a rectangle of rim joists with interior joists spaced 16 inches on center, sitting on skids, blocks or piers. Remember that lumber is sold by nominal size: a "2x6" actually measures about 1.5 by 5.5 inches, and a 2x8 is about 1.5 by 7.25 inches. Plans account for this, but it matters if you improvise.
- Lay out the perimeter and check that it is square by measuring both diagonals. When the diagonals match, the frame is square.
- Install joists with joist hangers or by nailing through the rim, crown side up (the slight curve pointing upward).
- Check level across the whole frame and shim at the supports, not under individual joists.
- Glue and screw 3/4-inch tongue-and-groove plywood or OSB subfloor, staggering the seams.
Step 5: Build and raise the walls
Most shed walls are built flat on the finished floor, then tilted up. Each wall has a bottom plate, a top plate and studs (usually 2x4s) at 16 inches on center. Door and window openings need a header above them and jack studs underneath to carry the load around the opening.
- Mark stud locations on the top and bottom plates at the same time so they line up.
- Raise one wall, brace it plumb with temporary diagonal boards, then raise the next and nail the corners together.
- Add a second top plate that overlaps the corners to tie the walls together.
- Sheath the walls with siding panels (such as T1-11 or engineered wood panels) or with sheathing plus separate siding. Sheathing also stiffens the walls against racking.
Step 6: Frame and cover the roof
The two most common shed roof styles are the gable roof (two slopes meeting at a ridge) and the single-slope "lean-to" roof. Gable roofs shed water and snow well and look like a small house; single-slope roofs are simpler to frame and work well against a fence or for adding clerestory windows. Gambrel (barn-style) roofs add storage height but involve more angled cuts.
Rafters or pre-built trusses are typically spaced 16 or 24 inches on center. Roof pitch matters for the covering you choose. Asphalt shingles are generally installed on slopes of 4:12 or steeper, and manufacturers usually allow slopes down to 2:12 only with extra underlayment. Very low slopes call for metal roofing or rolled roofing designed for that purpose. Check the product's installation instructions for its minimum slope.
A typical roof sequence: roof sheathing, drip edge along the eaves, underlayment, drip edge along the rakes, then shingles or metal panels. Installing hurricane ties or rafter ties where rafters meet the wall plates is good practice and required in many high-wind areas.
Step 7: Doors, trim, ventilation and finish
Prehung shed doors are available, but many builders make simple doors from siding and 2x4 framing. Add trim at corners and around openings to protect panel edges, then prime and paint or stain all exposed wood, especially cut ends. Gable or soffit vents help reduce condensation, which can be a real problem in a closed shed full of tools.
What does it cost to build a shed?
Costs vary widely by region, lumber prices, size and finish level, so treat any number as a rough planning range rather than a quote. As a general pattern:
| Shed type | Rough DIY material range | Main cost drivers |
|---|---|---|
| Small 8x8 to 8x10 basic storage | Often low thousands of dollars | Siding, roofing, foundation choice |
| 10x12 to 12x16 with windows | Often a few thousand dollars or more | Windows, doors, roofing type, concrete |
| Finished workshop with power and insulation | Can run well beyond a basic shed | Slab, electrical work, insulation, interior finish |
Price out your specific material list at a local lumberyard before committing. Material prices change often, and delivery fees, permits and a few tool purchases can add meaningfully to the total. Building yourself usually costs less than a comparable prefab or installed shed, but the savings depend heavily on what tools you already own.
Tools you will likely need
- Circular saw (and optionally a miter saw for repeated crosscuts)
- Drill/driver and impact driver
- Framing hammer or framing nailer
- Tape measure, speed square, framing square, chalk line
- 4-foot level and a long straightedge or string line
- Shovel, tamper and wheelbarrow for foundation work
- Sturdy ladder, sawhorses and clamps
If you are still building up a tool kit, our guide to setting up a small woodworking shop covers which tools to buy first.
Safety notes
- Wear safety glasses for all cutting and nailing, and hearing protection around saws and nailers.
- Wear a dust mask or respirator when cutting treated lumber or sanding, and do not burn treated wood scraps.
- Get help raising walls and setting rafters. Wall sections are heavy and awkward, and wind can catch them.
- Follow ladder safety rules and avoid working on the roof in wet or windy weather.
- Keep blade guards working on your circular saw and unplug or remove batteries when changing blades.
- Call 811 before digging any holes for piers or posts.
Using shed plans
A good set of plans takes most of the guesswork out of cut lists, rafter angles and material quantities. You can find free plans from lumber retailers and extension services, or paid plan collections. We have published research-based reviews of two paid options: My Shed Plans, which focuses specifically on sheds, and Ted's Woodworking, a broader collection that includes shed designs among many other projects. If you are deciding between them, our side-by-side comparison lays out the differences.
See the My Shed Plans collection
Whatever plans you use, read them all the way through before buying materials, confirm they meet your local code (snow load and wind requirements especially), and adjust the foundation to your site. For more project ideas and guides, browse the woodworking category.
Frequently asked questions
Do I need a permit to build a shed?
It depends on where you live. Many US jurisdictions follow the International Residential Code, which exempts one-story detached storage sheds of 200 square feet or less from a building permit, but some areas use a lower threshold or require a zoning permit. Setbacks still apply, and adding electricity usually requires an electrical permit. Check with your local building department and HOA before you build.
What is the best foundation for a shed?
For most small and mid-size sheds, a compacted gravel pad with pressure-treated skids is a common, well-draining choice. Concrete piers suit larger sheds, sloped sites and areas with frost heave, while a concrete slab is best for heavy-use workshops. Any wood in contact with the ground should be rated for ground contact.
How much does it cost to build a shed yourself?
Costs vary widely by region, lumber prices, size and finish level. Small basic sheds often fall in the low thousands of dollars for materials, while larger sheds with windows, concrete and electrical work cost considerably more. Price your material list at a local lumberyard for an accurate estimate.
How long does it take to build a shed?
A small shed from a plan can take a beginner a few weekends, depending on foundation type, roof complexity, weather and whether you have help. Pouring concrete or building a larger structure adds time.
What size shed can I build without a permit?
In many US jurisdictions that follow recent IRC editions, the threshold is 200 square feet of floor area, such as a 10x20 shed. Some areas use 120 square feet or other limits, so always confirm locally.
Reviews mentioned in this guide
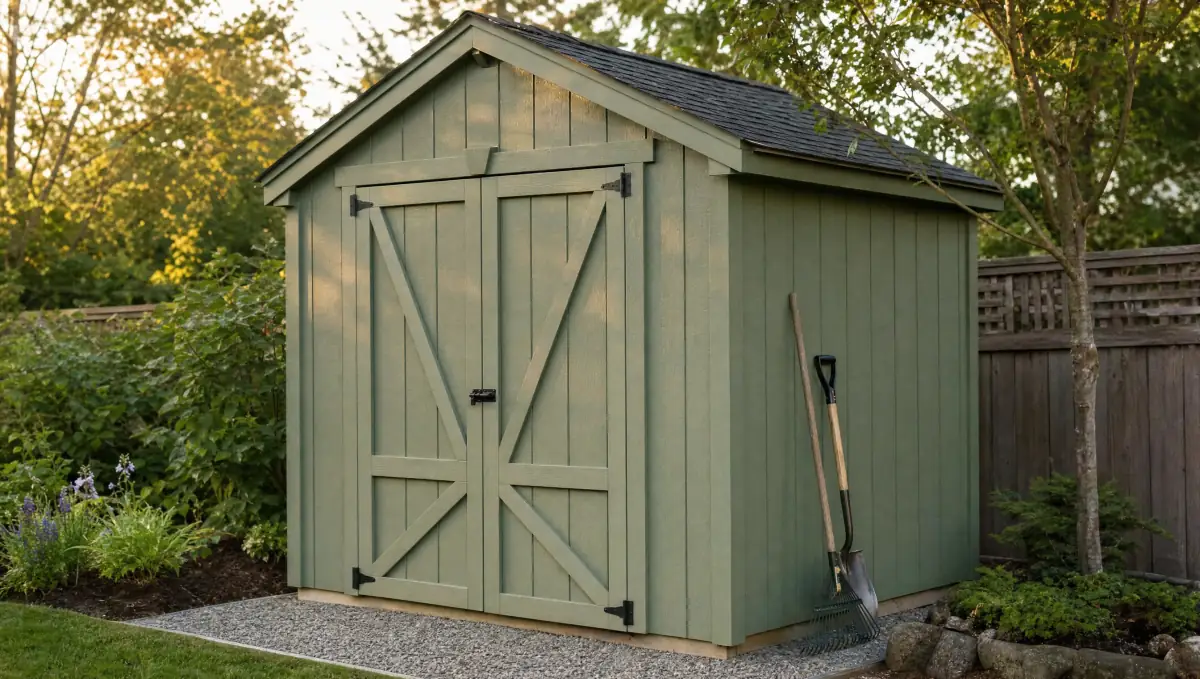
My Shed Plans
A low-cost, refundable shed plan library that suits first-time builders who want lots of choice, as long as you treat the 12,000-plan figure as a vendor claim and check local building rules.
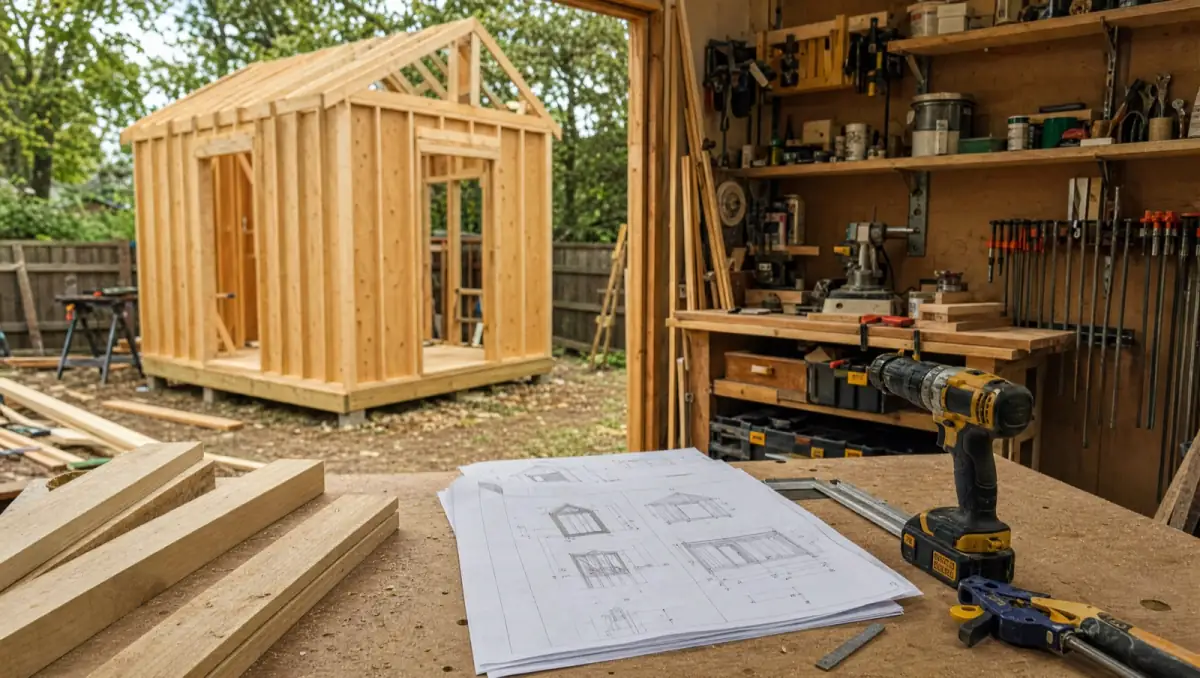
Ted's Woodworking
A cheap, very broad plan library worth trying only if you will check the plans critically within the 60-day refund window.