15 Easy Woodworking Projects for Beginners
Quick answer
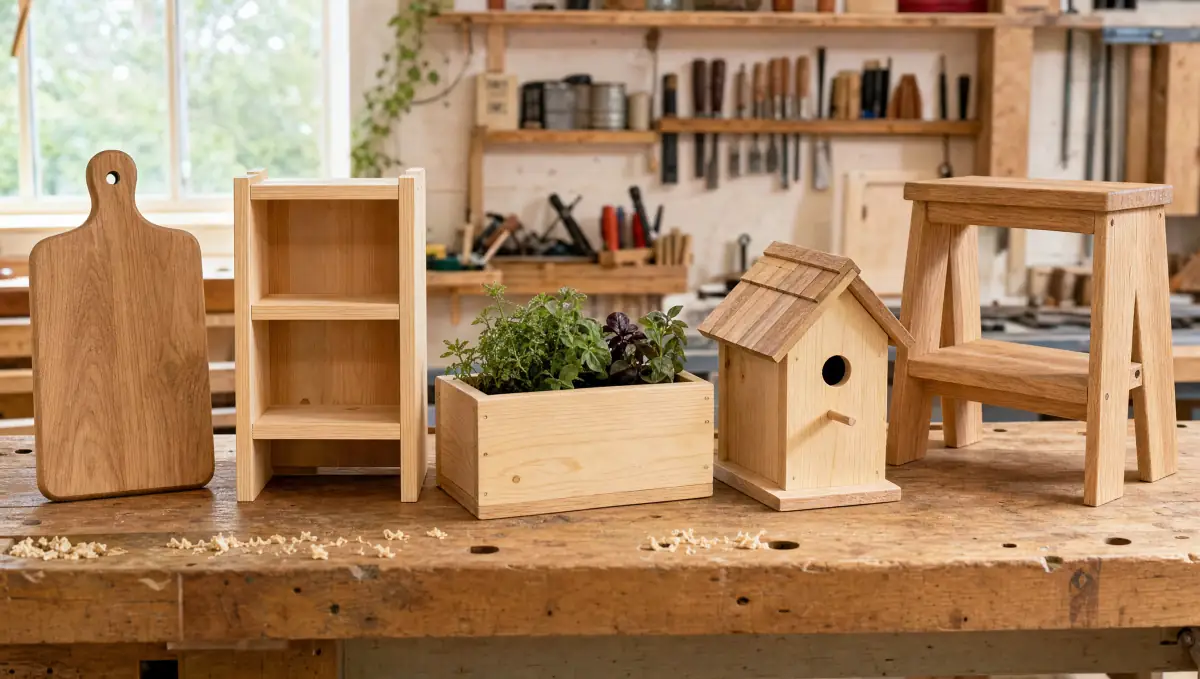
Good first woodworking projects include a cutting board, storage crate, floating shelf, picture frame, step stool, planter box and sawhorses, followed by a workbench, bookshelf and simple tables. Most need only a saw, drill, clamps and sander, and rely on butt, pocket-hole, dado or miter joints.
How to pick a first project
The best beginner woodworking projects share three traits: they use a small number of straight cuts, they rely on simple joints, and they produce something you will actually use. Finishing a useful object builds more skill and motivation than starting an ambitious piece of furniture and abandoning it halfway. A good progression is to start with projects made from common dimensional lumber like 1x and 2x boards, then move to plywood, then to projects that need more precise joinery.
Before you start, a quick note on lumber sizes. Boards are sold by nominal size, which is larger than the actual size. A "1x6" is about 3/4 inch by 5-1/2 inches, and a "2x4" is about 1-1/2 by 3-1/2 inches. Plans written for beginners usually account for this, but it matters whenever you design something yourself.
15 easy woodworking projects for beginners
The table below lists projects roughly in order of difficulty. Times are rough estimates for a first-timer working carefully and do not include finish drying time.
| # | Project | Main tools | Skill level | Rough time |
|---|---|---|---|---|
| 1 | Cutting board (single piece) | Saw, sander | Very easy | 1-2 hours |
| 2 | Wooden crate or storage box | Saw, drill, brad nailer or hammer | Very easy | 2-3 hours |
| 3 | Floating wall shelf | Saw, drill, level | Very easy | 2-3 hours |
| 4 | Picture frame (butt or miter joints) | Miter saw or miter box, clamps | Easy | 2-4 hours |
| 5 | Step stool | Saw, drill, pocket-hole jig optional | Easy | 3-4 hours |
| 6 | Planter box | Saw, drill | Easy | 3-4 hours |
| 7 | Birdhouse | Saw, drill | Easy | 2-4 hours |
| 8 | Shoe rack | Saw, drill, pocket-hole jig | Easy | 3-5 hours |
| 9 | Sawhorses | Circular saw, drill | Easy | 2-4 hours |
| 10 | Simple workbench (2x4 and plywood) | Circular saw, drill, square | Easy to moderate | 1 day |
| 11 | Bookshelf (dado or screwed shelves) | Circular saw or table saw, drill | Moderate | 1 day |
| 12 | Coffee table or side table | Saw, drill, pocket-hole jig, sander | Moderate | 1-2 days |
| 13 | Outdoor bench | Saw, drill, clamps | Moderate | 1-2 days |
| 14 | Edge-glued cutting board | Table saw or jointed boards, clamps, sander | Moderate | 1 day plus glue cure |
| 15 | Adirondack chair | Jigsaw, circular saw, drill | Moderate | 1-2 days |
Projects 1-4: building basic accuracy
A single-piece cutting board teaches you to make a clean crosscut, round over edges and sand through grits. Use a closed-grain hardwood such as maple and a food-safe finish like mineral oil. A crate or box teaches you to cut several parts to the same length, which is the core skill behind almost all furniture. A floating shelf adds locating studs and drilling accurately. A picture frame is a classic test of miter cuts: if your corners have gaps, your saw is not cutting exactly 45 degrees, and you will learn quickly how small errors add up across four joints.
Projects 5-9: simple structures
Step stools, planters, birdhouses and shoe racks introduce load-bearing parts and assemblies that need to be square. A pair of sawhorses is an underrated first project because you will use them on every project afterward. Planter boxes are a good place to learn about wood choice for outdoor use: cedar and redwood are naturally rot-resistant, while pressure-treated lumber is commonly avoided for edible gardens by gardeners who prefer to keep treatment chemicals away from soil, so many choose cedar or line the box.
Projects 10-15: furniture-scale pieces
A workbench is a natural turning point. It takes a full day, uses long rip and cross cuts, and gives you a flat, sturdy surface for everything that follows. After that, bookshelves and tables teach you to manage wood movement, keep large assemblies square and apply finish evenly over big surfaces. An edge-glued cutting board teaches glue-ups and clamping pressure. An Adirondack chair introduces curves and angled cuts, so save it until you are comfortable with a jigsaw.
Basic joints every beginner should know
You do not need dovetails to build good furniture. Most beginner projects use one of these joints:
| Joint | How it works | Strength | Good for |
|---|---|---|---|
| Butt joint | End of one board meets the face of another, held with glue and screws or nails | Low on its own, fine with fasteners | Boxes, crates, rough shelving |
| Pocket-hole joint | Angled screw driven from a hole drilled with a jig | Good for most household furniture | Face frames, tables, shelves |
| Miter joint | Two 45-degree cuts meet at a corner | Low unless reinforced with splines or nails | Frames, trim, boxes |
| Dado joint | A shelf sits in a groove cut across another board | Strong for shelves under load | Bookshelves, cabinets |
| Rabbet joint | An L-shaped notch along an edge or end | Moderate, more glue surface than a butt joint | Box corners, cabinet backs |
| Dowel joint | Wooden dowels glued into matching holes | Good with a doweling jig | Tabletops, frames, edge joints |
A practical tip repeated across woodworking resources: glue bonds best on long grain (the sides of a board) and poorly on end grain. That is why butt joints that rely on end grain need screws, nails or other reinforcement.
A minimal beginner tool kit
You can build most of the projects above with a short list of tools:
- Measuring and marking: tape measure, combination square, speed square, pencil.
- Cutting: a circular saw or a miter saw, plus a jigsaw for curves. A hand saw and miter box work for small projects.
- Drilling and driving: a cordless drill/driver and a set of bits, including countersink bits.
- Clamping: at least four bar clamps or quick-release clamps. You will always want more.
- Sanding: a random orbit sander and sandpaper in 80, 120, 180 and 220 grits.
- Joinery helper: a pocket-hole jig is the single most useful upgrade for beginners building furniture.
When you are ready to organize a dedicated space for these tools, see our guide on small woodworking shop setup.
Safety basics
Woodworking is safe when you build good habits from the first project:
- Wear safety glasses every time a tool is running, and hearing protection around saws, routers and planers.
- Read the manual for each power tool and keep guards in place.
- Clamp small workpieces instead of holding them by hand near a blade or bit.
- Keep hands well away from the blade path, and use push sticks on table saws.
- Avoid loose sleeves, gloves near spinning blades, and dangling jewelry.
- Control dust. Wood dust is classified as a human carcinogen by the International Agency for Research on Cancer, so use dust collection or a shop vacuum and wear a well-fitting dust mask or respirator when sanding.
- Unplug tools or remove batteries before changing blades and bits.
- Store oily finishing rags properly. Rags soaked in oil-based finishes such as linseed oil can self-heat and catch fire, so lay them flat to dry or place them in a sealed metal container with water.
Common beginner mistakes
- Not checking for square. Measure diagonals on every box and frame before the glue sets.
- Buying warped boards. Sight down each board at the store and pick the straightest ones.
- Skipping test cuts. Cut a scrap first to confirm the saw angle and measurement.
- Rushing the finish. Sanding and finishing take longer than most people expect and make the biggest visual difference.
- Measuring from the wrong side of the blade. The blade removes material (the kerf), so mark which side of the line is waste.
Where to find beginner plans
Free plans from lumber retailers, woodworking magazines and community sites are a great place to start. Paid plan collections can be useful if you want many projects in one place with cut lists and material lists. We reviewed Ted's Woodworking, a large plan collection that covers many of the project types above, and Ultimate Small Shop, which focuses more on setting up a workspace than on individual projects. Read the reviews to see what each includes and who it suits.
See the Ted's Woodworking plans
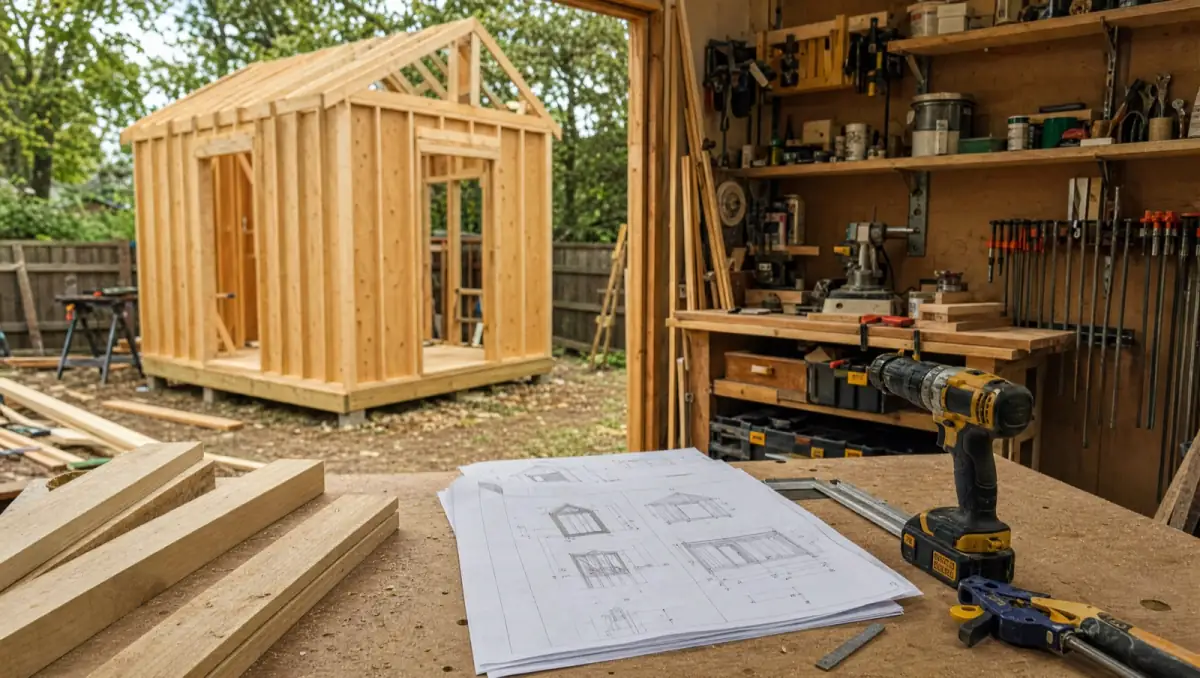
For more ideas, including our shed building guide, browse the woodworking category.
Frequently asked questions
What is the easiest woodworking project for a beginner?
A single-piece cutting board or a simple wooden crate is among the easiest, because each needs only a few straight cuts, basic sanding and a simple finish.
What tools do I need to start woodworking?
A tape measure, combination square, circular or miter saw, jigsaw, cordless drill, a few clamps, a random orbit sander and safety gear will cover most beginner projects. A pocket-hole jig is a popular first upgrade for furniture.
What wood is best for beginner projects?
Pine and other softwood boards are inexpensive and easy to cut, which makes them good for practice. Poplar is a step up for painted furniture, and maple is a common choice for cutting boards. Cedar is popular for outdoor projects because it is naturally rot-resistant.
Which woodworking joint should beginners learn first?
Butt joints with screws and pocket-hole joints are the easiest to learn and are strong enough for most household projects. Dado and rabbet joints are good next steps for shelves and boxes.
Is woodworking safe for beginners?
It can be, with good habits: wear eye and hearing protection, read tool manuals, keep guards in place, clamp small parts, control dust and unplug tools before changing blades.
Reviews mentioned in this guide
Ted's Woodworking
A cheap, very broad plan library worth trying only if you will check the plans critically within the 60-day refund window.
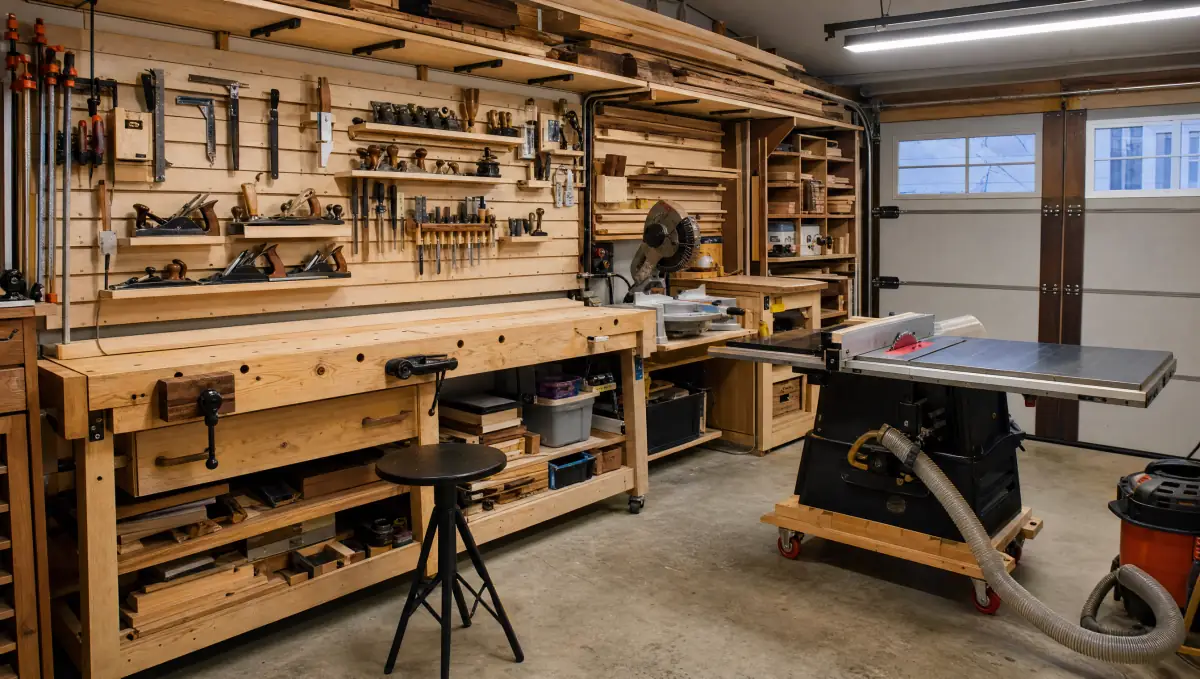
Ultimate Small Shop
A low-cost, narrowly focused shop-planning guide that suits beginners with a small space, backed by a 60-day refund but little independent buyer feedback.