Workbench Plans for Beginners: 7 DIY Builds by Budget, Plus a Simple 2x4 Bench
Quick answer
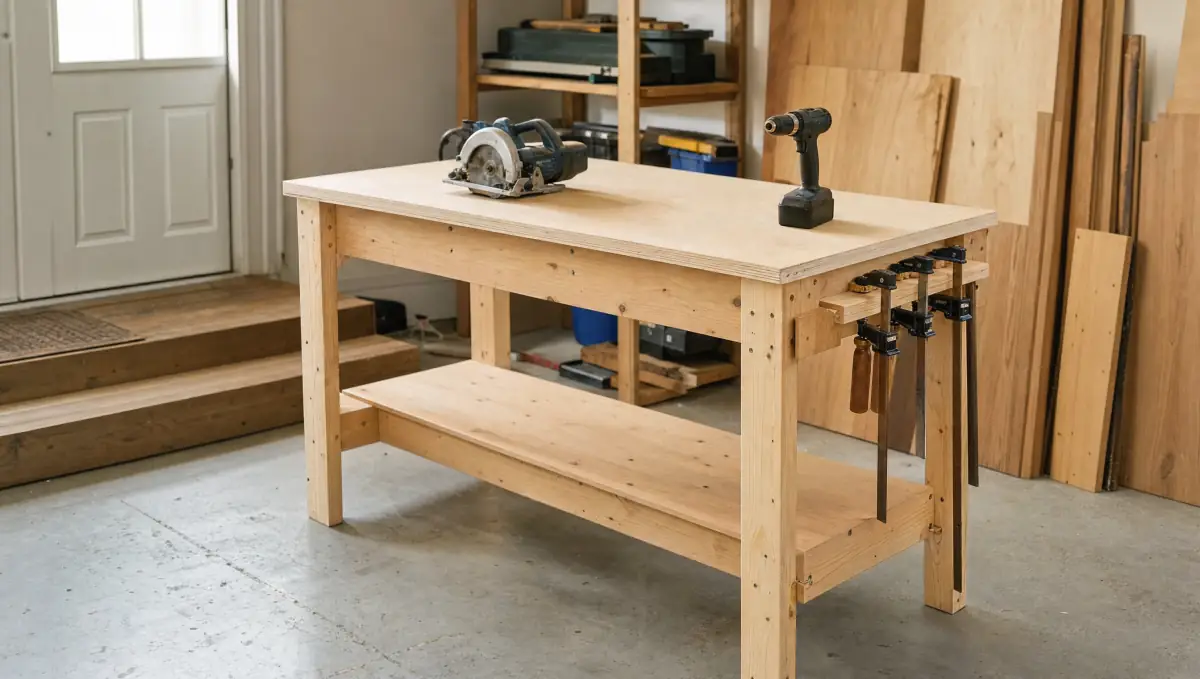
The easiest workbench for a beginner is a 2x4 frame with a 3/4-inch plywood top, about 24 x 60 inches and 34 to 38 inches tall (roughly your wrist height), built with a circular saw and drill in an afternoon for about $80 to $135 in materials. Free plans from Ana White and Kreg cover most first benches; move to a torsion box or laminated top once you know how you work.
Why a workbench should be your first real build
A workbench is the best first project for most new woodworkers because it teaches measuring, square cuts and screwed joints, and every later project gets easier once you have a flat, sturdy surface to work on. Good workbench plans for beginners use common lumber, a circular saw and a drill, and can be finished in a weekend. If you are still planning the space itself, start with our small woodworking shop setup guide, then come back here.
This guide covers how to choose the right bench, compares seven common DIY workbench plans by budget, and walks through a complete simple 2x4 workbench with a cut list you can follow today.
How to choose a workbench
Height
A common rule of thumb is to set the bench top at about the height of your wrist or palm when your arms hang relaxed at your sides. For most adults that lands between 34 and 38 inches. Go lower if you plan to do a lot of hand planing, where you push down with body weight. Go higher if you mostly do assembly or detail work. When unsure, 36 inches is a safe middle.
Top size
Depth of 24 inches suits a bench against a wall because you can reach the back edge without stretching. A freestanding bench you can walk around can go 30 to 36 inches deep. Length of 48 to 72 inches covers most beginner projects; 60 inches is a practical size for a one-car garage. Keep in mind that a 4x8 sheet of plywood divides neatly into 24-inch-wide strips, which keeps waste low.
Mobility
If a car still parks in the garage, choose a bench on locking casters or one that folds against the wall. A heavy stationary bench is steadier for hand tools, but in a shared space mobility usually matters more.
Type of work
- Assembly and general projects: a basic 2x4 bench or pocket-hole bench is enough.
- Cutting sheet goods: a Paulk-style or torsion box top gives a flat, lightweight surface with clamping holes.
- Hand-tool work: a heavy laminated top that does not slide when you plane or chop is worth the extra time.
7 workbench builds compared by budget
Material costs below are approximate ranges based on typical home-center prices for construction lumber and plywood in the US as of October 2026. Prices change often and vary by region, so check your local store before you buy. Ranges exclude tools you already own.
| Build | Approx. material cost | Tools needed | Build time | Skill |
|---|---|---|---|---|
| Basic 2x4 + plywood bench | $80-$150 | Circular saw, drill/driver, square, tape | 3-5 hours | Beginner |
| Folding wall-mounted bench | $60-$150 | Circular saw, drill, level, stud finder | 3-5 hours | Beginner |
| Sawhorses + solid-core door slab | $60-$180 | Drill (or none with folding sawhorses) | About 1 hour | Beginner |
| Mobile cart bench on casters | $150-$300 | Circular saw, drill, square | 5-8 hours | Beginner |
| Pocket-hole bench | $120-$250 | Pocket-hole jig, miter or circular saw, drill | 4-8 hours | Beginner+ |
| Paulk-style / torsion box top | $200-$400 | Circular saw with guide rail or track saw, drill, router (optional) | 15-30 hours | Intermediate |
| Laminated-top "Roubo-lite" | $250-$500 | Circular saw, drill, many clamps, hand plane or router sled | 30-60 hours | Intermediate to advanced |
1. Basic 2x4 + plywood bench
Four legs, two rectangular 2x4 frames and a plywood top. It is cheap, strong enough for most hobby work and fully detailed below. Its main limits are a top that is flat only as long as the plywood stays flat, and no built-in vise.
2. Folding wall-mounted bench
A plywood or 2x4-framed top hinged to a ledger screwed into wall studs, with folding legs or drop-down braces. It is the best choice for very small spaces. Anchor the ledger into studs, not drywall, and do not use it for heavy pounding.
3. Sawhorses + door slab
The fastest bench there is: two sturdy sawhorses and a solid-core door. Hollow-core doors flex and dent, so skip them.
4. Mobile cart bench
Similar to the basic bench but with a lower shelf sized for storage and four locking casters rated for well above the bench's loaded weight. Casters add $40 to $100 to the cost. Use total-lock casters so the bench does not roll or swivel while you work.
5. Pocket-hole bench
Uses angled pocket screws instead of face screws, which gives cleaner joints and no visible screw heads. Kreg publishes free pocket-hole workbench plans, and the jig is useful for later furniture projects, so many beginners treat this as a tool investment.
6. Paulk-style / torsion box top
A design popularized by woodworker Ron Paulk: a grid of plywood strips sandwiched between two skins, with clamping holes. The result is very flat and light for its strength. It takes careful cutting and many pieces, so it suits a second bench more than a first one.
7. Laminated-top "Roubo-lite"
A simplified take on the traditional French Roubo bench, built by gluing construction 2x4s or 2x6s face to face into a thick, heavy top. It is the most stable option for hand planing and chopping, but flattening the top by hand plane or router sled is a long job.
Full build: a simple 2x4 workbench (24 x 60 in top, 36 in high)
This simple 2x4 workbench uses one sheet of plywood, six 8-foot 2x4s and screws. Finished size: 24 inches deep, 60 inches long and 36 inches tall, with a lower storage shelf.
How the dimensions add up
- Height: legs 35-1/4 in + top 3/4 in = 36 in.
- Frame: long rails 56 in; short rails 19 in + two long rails at 1-1/2 in each = 22 in outside width. Each frame is 22 x 56 in.
- Overhang: top 24 x 60 in on a 22 x 56 in frame leaves 1 in front and back, 2 in at each end, which leaves room for clamps.
- Remember that a 2x4 actually measures 1-1/2 x 3-1/2 in.
Materials list
- 6 x 2x4 studs, 8 ft (buy 7 to allow for a warped board)
- 1 x sheet 3/4 in plywood, 4 x 8 ft (sanded pine or birch-faced gives a smoother top than construction CDX)
- 1 lb box of 3 in construction screws (exterior or structural rated)
- About 40 x 1-5/8 in wood screws for the top and shelf
- Wood glue
- Optional: four leveling feet, paste wax or finish for the top
Approximate material cost: $80 to $135 at typical home-center prices (studs around $3 to $5 each, a 3/4 in sanded sheet around $45 to $75, screws and glue around $15 to $25). Check current prices locally.
Cut list
| Part | Qty | Material | Size |
|---|---|---|---|
| Legs | 4 | 2x4 | 35-1/4 in |
| Top frame long rails | 2 | 2x4 | 56 in |
| Top frame short rails (2 ends + 1 center) | 3 | 2x4 | 19 in |
| Shelf frame long rails | 2 | 2x4 | 56 in |
| Shelf frame short rails | 2 | 2x4 | 19 in |
| Top | 1 | 3/4 in plywood | 24 x 60 in |
| Shelf | 1 | 3/4 in plywood | 22 x 56 in, corners notched |
Cutting plan for the studs: four studs each yield one 56 in rail plus one 35-1/4 in leg (91-1/4 in, leaving room for saw kerf and squaring the ends). Cut the five 19 in short rails from the remaining two studs, four from one and one from the other. Plywood: rip the sheet at 24 in, then crosscut that strip to 60 in for the top. Rip the remaining strip to 22 in and crosscut it to 56 in for the shelf.
Step-by-step instructions
- Square the ends. Trim about 1/4 in off one end of each stud so you measure from a square end. Mark all cuts with a speed square before cutting.
- Cut all parts. Follow the cut list. Cut matching parts in a batch, or clamp a stop block to your saw table, so the four legs and all short rails come out identical. Label parts with a pencil.
- Build the two frames. For each frame, set two 19 in short rails between two 56 in long rails to make a 22 x 56 in rectangle. Glue and drive two 3 in screws through the long rail into the end of each short rail. For the top frame, add the third short rail at the center (its center at 28 in from either end). Check square by measuring both diagonals; they should match.
- Attach the legs to the top frame. Turn the top frame upside down on a flat floor. Place a leg inside each corner, with its 3-1/2 in face against the long rail and its 1-1/2 in edge against the short rail, and the leg end flush with the frame's top edge. Drive three 3 in screws through the long rail and two through the short rail into each leg.
- Attach the shelf frame. Stand the bench up. Mark each leg 6 in up from the floor. Set the shelf frame so its bottom edge sits on the marks, using 6 in scrap blocks as spacers, and screw through the rails into the legs the same way.
- Notch and install the shelf. Each leg occupies a 3 in x 5 in area at the corners of the shelf frame (1-1/2 in rail + 1-1/2 in leg across, 1-1/2 in rail + 3-1/2 in leg along the length). Measure your actual legs, then cut a matching notch at each corner of the 22 x 56 in shelf with a jigsaw. Drop it in and screw it to the rails with 1-5/8 in screws every 10 to 12 in.
- Install the top. Center the 24 x 60 in top on the frame (1 in overhang front and back, 2 in at each end). Drive 1-5/8 in screws through the top into the rails every 8 to 10 in, including the center rail. Countersink the heads slightly below the surface.
- Finish. Ease sharp edges with sandpaper. A coat of paste wax or a wipe-on finish helps glue drips pop off. Add leveling feet if your floor slopes.
Want the bench heavier and flatter later? Glue and screw a second 24 x 60 in layer of 3/4 in plywood or hardboard on top. That adds 3/4 in, so cut the legs to 34-1/2 in if you plan for a double top from the start and still want 36 in overall.
Safety notes
- Wear safety glasses and hearing protection when cutting, and a dust mask when sanding.
- Support both sides of a plywood sheet when ripping it with a circular saw, so the cut does not close on the blade and kick back.
- Clamp workpieces; do not hold short pieces by hand near the blade.
- Unplug or remove the battery before changing blades or bits.
- Have a helper lift the plywood sheet; a 3/4 in sheet typically weighs 60 pounds or more.
Where to find free workbench plans
Plenty of good free workbench plans exist, and for a single bench they are usually all you need:
- Ana White publishes many free beginner plans with cut lists, including 2x4 and plywood workbenches.
- Kreg offers free pocket-hole project plans, several of them workbenches and shop carts.
- Rockler and Woodcraft both publish some free project plans and shop articles on their websites, alongside the products they sell.
For a side-by-side look at what free sources cover and where paid libraries differ, read Ted's Woodworking vs free plans.
Paid plan libraries
Paid collections bundle many plans in one place. According to the vendor, Ted's Woodworking includes workbench and shop furniture plans among its categories, and the sales page advertises 16,000+ plans in total (a vendor claim; a 2014 forum count put distinct plans closer to about 2,500). It costs $67 one-time at checkout as of October 9, 2026, with optional add-ons and later upsells. Our Ted's Woodworking review covers what you get and what buyers report. If you are planning the whole shop rather than just the bench, the Ultimate Small Shop review covers a guide focused on layout and tool buying.
What to build next
Once the bench is done, practical next projects include a wall tool rack, a pair of sawhorses, a crosscut sled and a shop cart. For more ideas sorted by skill, see our list of woodworking projects for beginners.
Frequently asked questions
How tall should a workbench be?
A common rule of thumb is wrist or palm height with your arms hanging relaxed, which for most adults is 34 to 38 inches. Go lower for hand planing and higher for assembly or detail work. 36 inches is a safe default.
What is the easiest workbench for a beginner to build?
A 2x4 frame with a plywood top. It needs only a circular saw, a drill and screws, uses six 8-foot 2x4s and one plywood sheet, and can be built in 3 to 5 hours.
How much does it cost to build a simple 2x4 workbench?
At typical US home-center prices in October 2026, a 24 x 60 inch 2x4 and plywood bench costs roughly $80 to $135 in materials. Prices vary by region and change often, so check your local store.
Where can I find free workbench plans?
Ana White and Kreg publish free workbench plans with cut lists, and Rockler and Woodcraft post some free project plans on their websites. For one bench, free plans are usually enough.
What size should a workbench top be?
For a bench against a wall, 24 inches deep is easy to reach across; a freestanding bench can be 30 to 36 inches deep. A length of 48 to 72 inches suits most beginner projects, and 60 inches fits well in a one-car garage.
Reviews mentioned in this guide
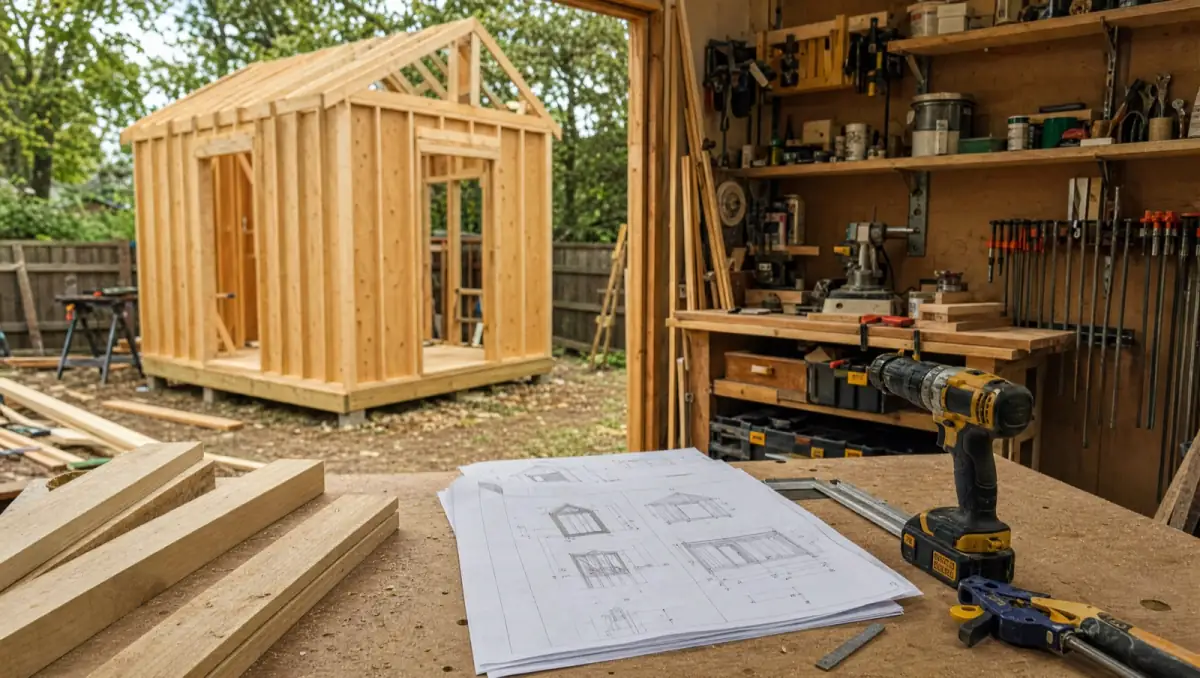
Ted's Woodworking
A cheap, very broad plan library worth trying only if you will check the plans critically within the 60-day refund window.
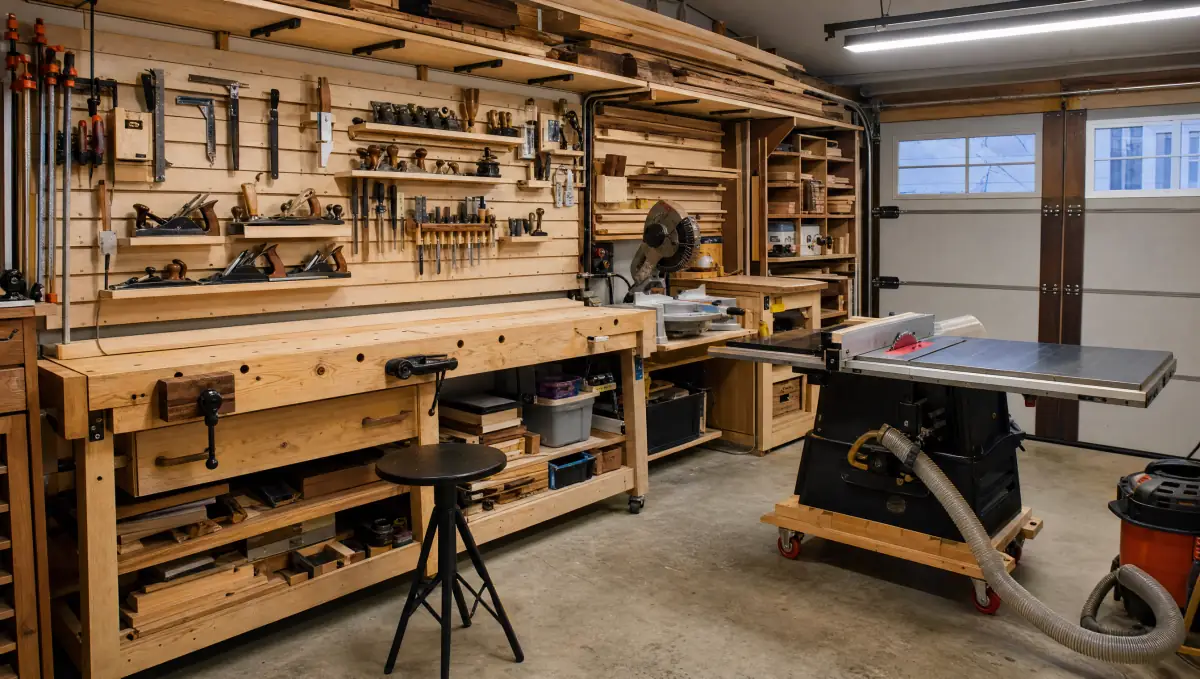
Ultimate Small Shop
A low-cost, narrowly focused shop-planning guide that suits beginners with a small space, backed by a 60-day refund but little independent buyer feedback.